What is actually in these files
The mini is the only format on this site that takes bleed, and it is the reason these files are generated rather than drawn once and reused. The PDF and SVG here are 175 by 260mm, not 170 by 250, with 5mm of extra paper on the top, bottom and outside edge and none on the inside. The InDesign script sets those four bleed offsets separately, which is not something the New Document dialog will do for you in one pass. It also runs in multiples of eight with a floor of sixteen pages, so the script opens a sixteen page document rather than the usual eight.
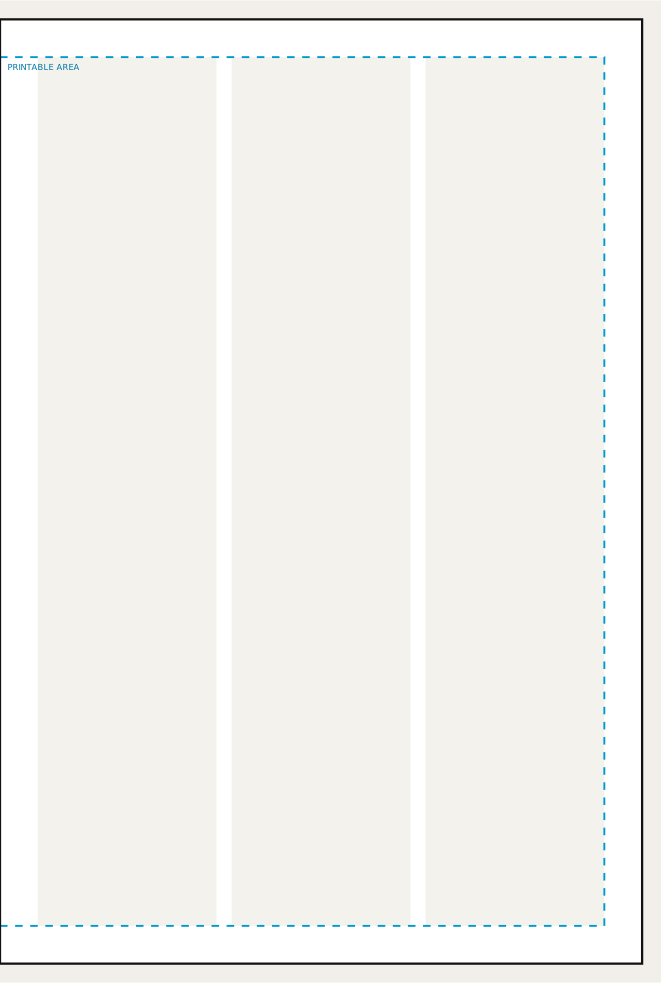
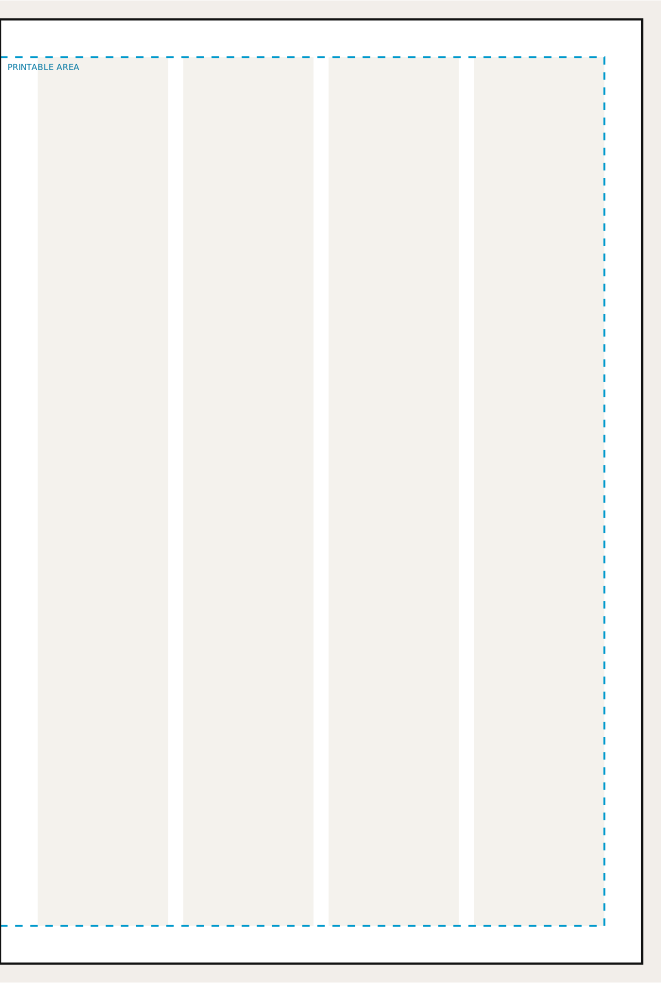
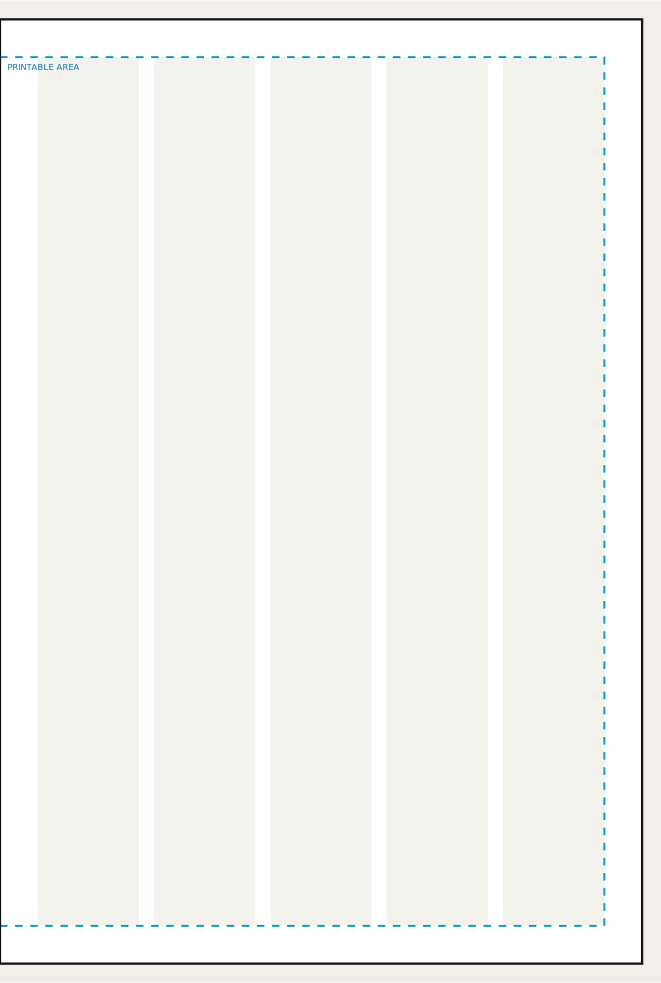
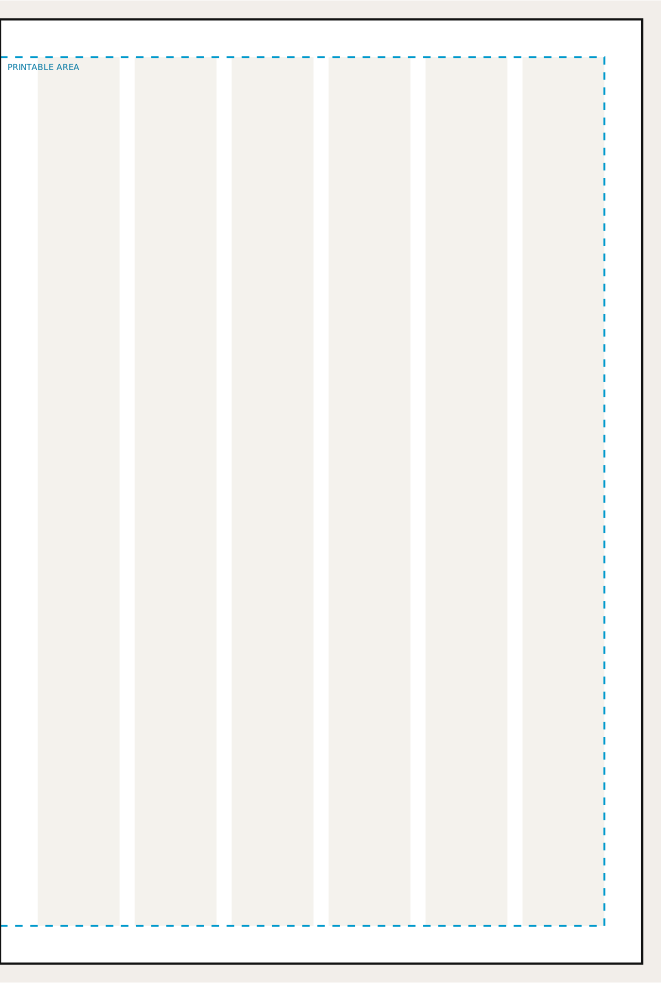
Each file carries three pieces of geometry and keeps them visually distinct, because they are not the same kind of thing. The black outline is the trim: where the guillotine comes down and the finished 170 by 250 millimetre page begins. The cyan dashed box is Newspaper Club's required printable area, 160 by 230 millimetres, which is their rule and not our opinion. The pale tinted blocks are the column grid, which is our recommendation and the only thing on the page you should feel free to ignore.
Why the columns do not fill the whole printable area
Newspaper Club asks for its 10mm margin on the top, bottom and outside edge and says nothing about the inside edge, because that edge vanishes into the fold. Technically you may run text right up to it. In practice the fold swallows the last few millimetres of every line, so the column grid in these files keeps the same 10mm clear on the inside as well. That is the one place where the template is stricter than the specification, and the cyan box is drawn where Newspaper Club actually allows so you can see the difference and overrule us if you want it.
The document is bigger than the page, on purpose
Every file here is 175 by 260 millimetres rather than the 170 by 250 the finished paper will be. That is the 5mm of bleed Newspaper Club asks for on the top, bottom and outside edge, but not the inside edge. The extra paper is trimmed off after printing, so anything you want to run to the edge has to extend into it, and anything you want read has to stay inside the cyan box. The InDesign script sets the four bleed offsets individually, which matters here because the inside edge takes none.
Which column count to choose
There is no correct answer, but there is a readable range. A column narrower than about 40 millimetres forces so many hyphens that the text starts to look shredded; a column wider than about 80 makes the eye lose its place on the return sweep. On this format the four options work out as follows.
| Columns | Width | Width | Reads as |
|---|---|---|---|
| 3 | 47.3 mm | 1.86 in | Comfortable for body text |
| 4 | 34.5 mm | 1.36 in | Tight, expect a lot of hyphenation |
| 5 | 26.8 mm | 1.06 in | Tight, expect a lot of hyphenation |
| 6 | 21.7 mm | 0.85 in | Tight, expect a lot of hyphenation |
If you are printing a paper that is mostly writing, fewer and wider columns read better. If it is mostly pictures and short items, more and narrower columns give you more places to put things. School and community papers usually land on four or five.
Opening the files
InDesign
Run the .jsx script rather than opening the PDF. Go to File, then Scripts, then double click the file, or drop it into your Scripts Panel folder first. It builds a new document at the right size with the margins, the column grid and the per-edge bleed already set, and it does not touch anything you have open. Everything it does is plain text in the file, so you can read it before you run it.
Illustrator, Affinity, Inkscape and Figma
Open the .svg. All of the guide geometry sits in a single group called guides, so when the layout is finished you select that one group, delete it, and what remains is your artwork on a correctly sized artboard. There is also an empty group called artwork to build inside if you like working that way.
Word
The Word file is set to 170 by 250 millimetres with a 10mm margin on every edge and the columns already configured, so you can type straight into it. Word has no idea what bleed is and no per-edge margin control worth using, which is why it gets the margin on all four sides rather than only the ones Newspaper Club requires. That is more conservative than the specification, never less, so a Word file laid out this way will always pass.
Canva, Publisher and everything else
Anything that lets you set a custom document size can use the PDF as a background reference: place it, lock it, build on top, then remove it before you export. For Canva specifically, the numbers to type into the resize box are on the Canva newspaper setup guide, and the thing to watch for is that Canva will happily let you place text outside the printable area without warning you.
Before you send the file
One thing no template can do for you is fix the page count. Newspaper Club prints this format in multiples of 8, from 16 to 64, and a file with the wrong number of pages is rejected before anyone looks at the design. The InDesign script opens a 16 page document to start you off on the right multiple. If you are unsure how many pages your writing will fill, the words to pages estimator will tell you before you start laying anything out.
Check your photographs as well as your layout. Newsprint is absorbent and unforgiving, and an image that looks acceptable on screen at 100 percent can be well under the resolution Newspaper Club needs. The image DPI checker will tell you the effective resolution of a photograph at the size you are actually printing it, which is the number that matters rather than the one in the file's properties.
Finally, read the full Newspaper Club Traditional Mini specification before you order. These templates encode the geometry, but they cannot encode colour handling, font embedding or file naming, and those are the other three reasons files come back.
Figures on this page come from Newspaper Club artwork guidelines, read on 2026-08-20. Presses vary and printers revise their guidelines, so run a test PDF through their own preflight before you order.